Sunday, February 21, 2016
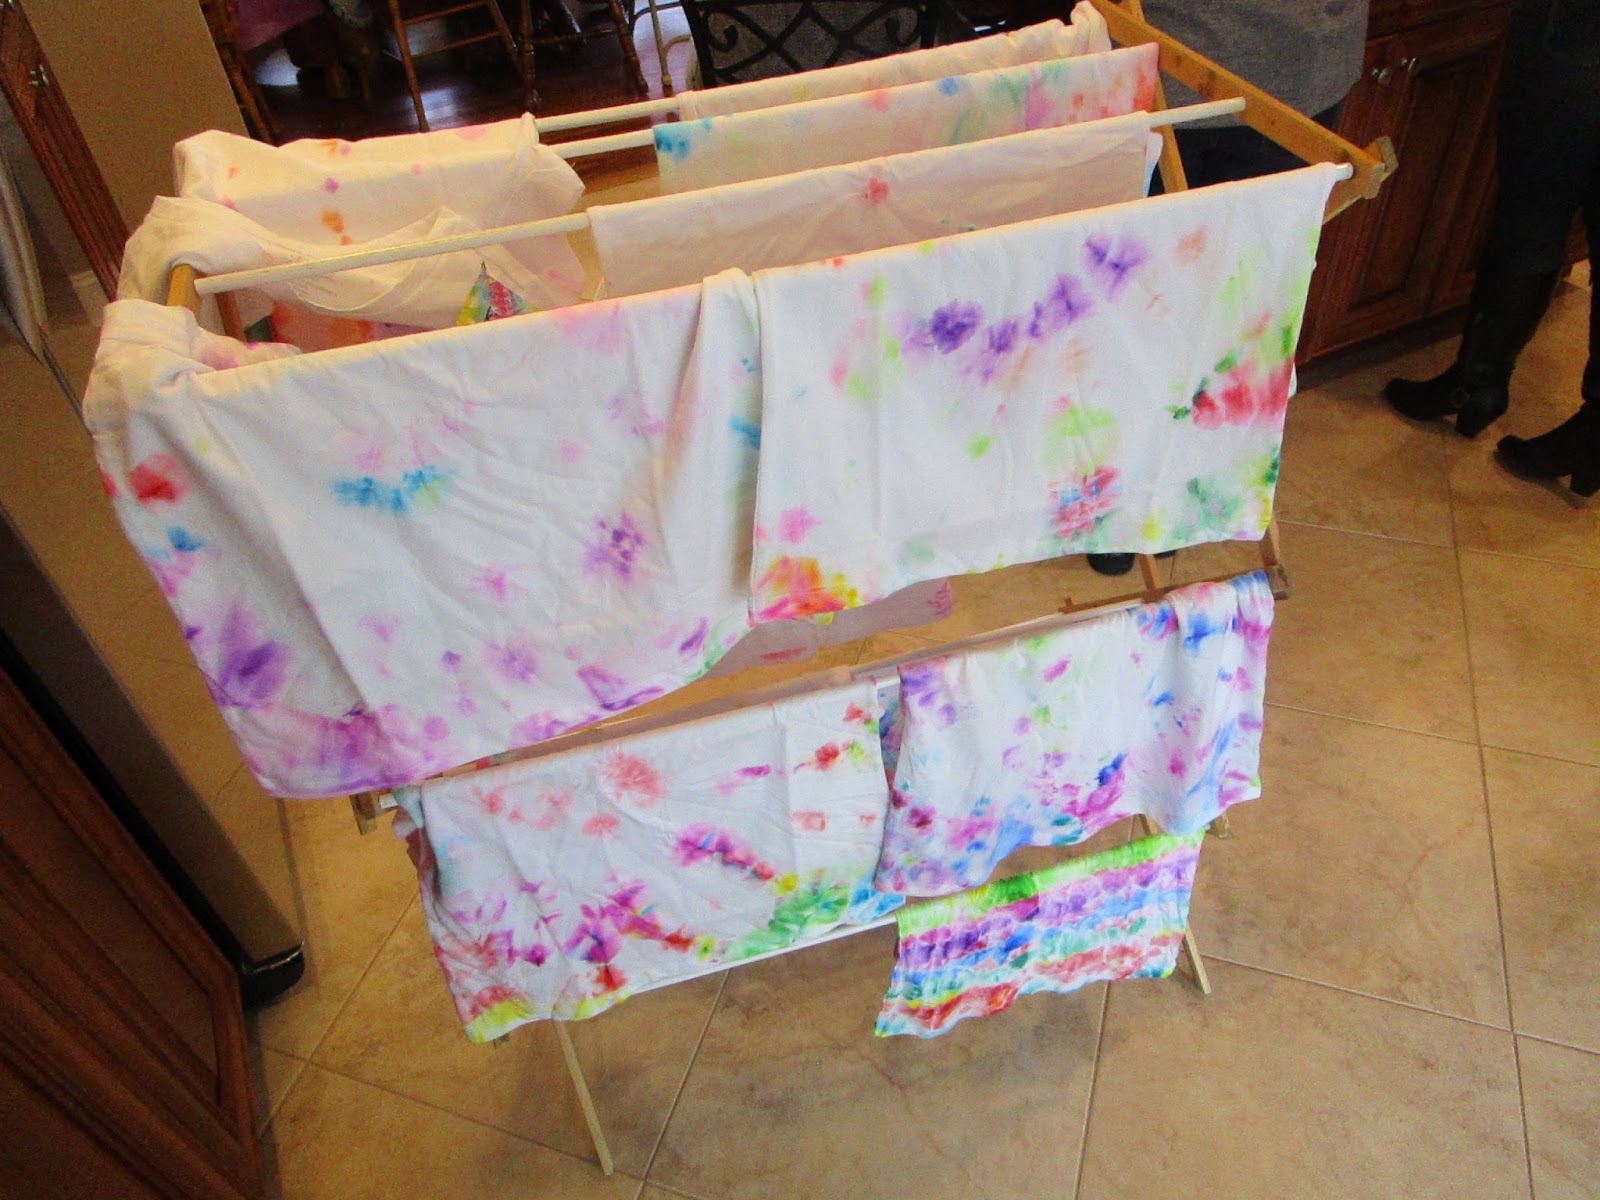
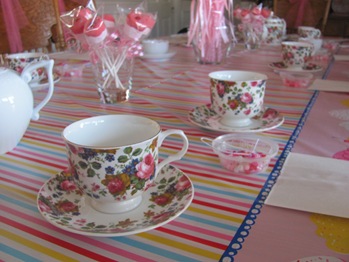
A Tie Dye Party for Emily’s 9th Birthday
Thursday, August 28, 2014
When I Grow Up: What Will I Be When I Grow Up? ~ Poppins Book Nook
When I was little I loved to read all of the different Little Critter Books. I still remember sitting outside showing my Grandma how I could read the books all by myself. So as soon as I saw the theme for this month’s Poppins Book Nook I knew that we would read When I Grow Up (Little Critter) . Emily and Juliette love hearing about all the different jobs that Little Critter’s sister wants to have and I love the message that you can be anything you want to be.
This opened up the discusion about “What do you want to be when you grow up?” and that is always a fun thing to talk about with little kids!
Emily wants to be an Art Teacher, An Ear Piercing Girl and the Tooth Fairy (yes you read that correctly, I guess in reality one day there is a possibility that she will achieve that goal one day!)
Juliette want to be “a builder like Daddy!”
Check out these other creative blogs to find more “What Will I Be When I Grow Up” themed books from the other co-hosts of the Poppins Book Nook and if you have a book and activity post that fits with this month’s When I Grow Up theme, feel free to add it to the linky below.
Enchanted Homeschooling Mom ~ 3 Dinosaurs ~ To the Moon and Back ~ Planet Smarty Pants ~ Farm Fresh Adventures ~ Growing in God's Grace ~ Chestnut Grove Academy ~ Faith and Good Works ~ Learning and Growing the Piwi Way ~ The Usual Mayhem~ Preschool Powol Packets ~ Monsters Ed Homeschool Academy ~ Adventures in Mommydom ~ Teach Beside Me ~ Life with Moore Babies ~ Kathy's Cluttered Mind ~ Are We There Yet? ~ Our Crafts N Things ~ Hopkins Homeschool ~ ABC Creative Learning ~ Joy Focused Learning ~ P is for Preschooler ~ Laugh and Learn ~ A Mommy's Adventures ~ Inspiring 2 New Hampshire Children ~ World for Learning ~ The Kennedy Adventures ~ Ever After in the Woods ~ Golden Grasses ~ Our Simple Kinda Life ~ A glimpse of our life ~ Journey to Excellence ~ Happy Little Homemaker ~ Little Homeschool Blessings ~ Simplicity Breeds Happiness ~ Raventhreads ~ Water on the Floor ~ Learning Fundamentals ~ Tots and Me ~ As We Walk Along The Road ~ Stir the Wonder ~ For This Season ~ Where Imagination Grows ~ Lextin Academy ~ The Canadian Homeschooler ~ School Time Snippets ~ Peakle Pie ~ Mom's Heart ~ A Moment in our World ~ Every Bed of Roses ~ Finchnwren ~ At Home Where Life Happens ~ Suncoast Momma ~ The Library Adventure ~ Embracing Destiny ~ Day by Day in our World ~ Our Homeschool Studio ~ A "Peace" of Mind ~ Thou Shall Not Whine ~ SAHM I am ~ eLeMeNo-P Kids ~ Simple Living Mama
Thursday, March 13, 2014
Custom Built in Bunk Beds ~ Built with Love By Daddy!!
Emily and Juliette each had their own room until I was pregnant with Clara. We only have 3 bedrooms in our house so we decided that Emily and Juliette would get to share a room. Since the bedrooms in our house are pretty small the only option was a bunk bed. I began scouring the internet and furniture stores for bunk beds, however I couldn’t find anything that I loved and when I did find something that I at least liked I was amazed at how expensive they were.
During my search though I did find this amazing custom double built in bunk bed, from August Fields. It had everything that I wanted, a little shelf for the girls to put their “treasures,” a light for reading and I loved that there where stairs instead of a ladder that stuck out into the middle of the room. After shopping around with my husband one day I came home and showed him the Pinterest board that I had put together with different bunk bed ideas. I thought he was going to tell me I was crazy, but instead he said “I could do that.” (Definitely one of the great thing about being married to a contractor!!) We got to work planning them right away and as we were showing the girls what we were going to do they were beyond excited for their new Bunk Beds!!
We were able to cathedral the ceilings in their room which was great because it made a small narrow room feel much bigger and we were able to make the bottom bunk bed higher so even my husband could sit in it and read with the girls without bumping his head.
The other really great thing is that the beds are actually built in to the studs in the walls so it is probably the strongest bunk bed ever. My husband can sit up in the top bunk with the girls to read bedtime stories without any worries. I thought that was important because Emily was so used to having us snuggle in her bed to read at night, I didn’t want her to miss out on that!
I absolutely LOVE how their bunk beds came out! Here you can see the steps leading up to the top bunk on the left hand side and they each have their own little built in shelf to put their treasures on and their own reading light .
I love that although they have to share a room, they each have their own special space in the room.
Thursday, March 6, 2014
Emily’s LEGO Friends Birthday Party
Oh my goodness I can not believe that we just celebrated my baby’s 7th birthday!!
Emily and Juliette have been OBSESSED with LEGO friends ever since they got their first set last year for Christmas. So this year when we were thinking about the theme for Emily’s party I was not surprised when she jumped up and down with excitement when I suggested we do a LEGO Friends Party. I have to say this was probably my favorite party to plan yet, I had so much fun searching Pinterest for fun ideas.
The decorations were simple but fun and I absolutely LOVED the color scheme she picked out. We made the Lego Brick decorations from card stock and cut out circles on the Cricut MachineEmily built her name with her LEGO bricks.
When each girl arrived they took a picture with Emily at our Friends Photo booth. This is one of my favorite party activities. I love having a picture of Emily with each girl and then I print them and use them for a personalized thank you card.
I printed out a picture of all the LEGO Friends on legal sized paper for the girls to color and use as a placemat. I also printed a handful of Lego coloring pages and put them together as a coloring book for the early finishers. We were amazed at how long the girls just wanted to color for.
Next for the main activity for her party we decided to get each girl a Lego Friends Set for them to put together. I had a craft tray for each child to work on so that the pieces stayed somewhat contained.
We had pizza and cake and then let the girls play in the basement with Emily’s collection of LEGOS until their parents came to pick them up. Emily came up with the design for her cake. The “7” is made out of Sixlets candies and I used a Building Blocks Chocolate Candy Mold to make the chocolate bricks. She then added her Lego Friends as the final decorations.
For their goody bags I used my sister’s CIRCUIT machine to cut out circles to decorate the bags like LEGO bricks. In each bag the girls had the LEGO set they built during the party, a box of Building Blocks Candy, a LEGO sugar cookie that we made, their coloring book and placemat and hair band lollipops that we made for each girl. (Did I mention that I LOVE Pinterest!)
Happy LEGO Friends 7th Birthday Emily!!!
Wednesday, August 1, 2012
A Pinkalicious Party!!!
To celebrate Emily’s 5th Birthday she had all of her friends over for a Pinkalicious Tea Party. I had so much fun scouring the internet for idea for this party and Emily had a great time celebrating with her friends.
The Birthday Girl all ready for her Pinkalicious Party
Our Dining room all decarated for a Pinkalicious Tea Party.
I used 2 tea sets, one set was my mother-in-laws and the other I received as a bridal shower gift.
The table was decorated with the Giant Cupcake Birthday Cake
Pink Princess Wands
Marshmallow Cupcake Pops
These were so easy to make: Insert a lollipop stick into a large pink marshmallow and dip it into melted pink chocolate. Then add a red mini m&m and some silver decorators sugar crystals. I wrapped them in chocolate lollipop bags and then we added them to the favor bags at the end of the party
The Birthday Girls Chair
We served bagels with pink cream cheese, pink lemonade and pink milk (strawberry milk).
Once all of our little guests arrived in their adorable pink outfits they sat around the table and I read the book “Pinkalicious” to all the girls.
Then they each decorated a white lunch bag with stickers, markers and crayons. Once they finished they also made pink bracelets. I picked through all of our beads to include only the pink, red and white beads. I was amazed with how long all of the girls worked on their projects. They seemed to really enjoy this part of the party.
Next we served the bagels, pink lemonade and strawberry milk. The kids were excited about having their own tea cups and we served the pink lemonade from the tea pots.
After lunch we went downstairs for a Pinkalicious Treasure Hunt
We filled two large buckets with rice, pink petals, pink pom poms and pink heart sequins. Then I added in some special treasures for them to find. Each girl had to find a hear lip-gloss ring, eraser, pink bubbles and a candy necklace kit.
We called the girls to come and they used their decorated bags to hold the treasures that they found. This was a lot of fun and the girls really seemed to enjoy it. Next time I would do it in a different container because some of the things were really hard to find because they went all the way to the bottom and they really had to dig. With 17 girls this took a bit of time. But everyone had fun watching, playing and hunting!
Time for Birthday Cake!
This is one of my favorite pictures her smile is priceless, she was so happy the whole day.
After the cake the girls each went home with their decorated treat bag filled with the bracelet they made, the treasures they found in the rice along with the wand and marshmallow pops that decorated the table.
Each treat bag also included a clip that my mom and I made from YummyFelts
and these candy bags with the “True blue cure for Pinkititis.”
I found the printable topper from Kim at SevenThirtyThree and printed them onto card stock. Then I was able to buy individual pieces of candy at Party City. So I picked out Green Fruit Slices, Green Lollipops and Green Foil Wrapped Hershey Kisses. I put them all into small plastic treat bag (the same ones I used for the marshmallow pops just a little larger) and stapled the topper on. They looks so cute and were one of my favorite things to make for the party.
Thursday, March 15, 2012
stART ~ 10 Little Rubber Ducks
Welcome to stART! I hope that you will enjoy our story and art project and maybe even share your own too. All I ask is that you link back to A Mommy’s Adventures somewhere in your post by either adding my button or a text link, so that others can see all the other great projects that everyone shares too! The linky will be open all week. Be sure to stop by and visit the different links…every week there are so many different and fun book and craft ideas!
Check out the stART tab in my navigation bar where you can find our past stART projects. All the books that we have read and did a stART project for are listed in alphabetical order. I have also included a list of all the blogs that participate in stART.
This week I was the Special Reader for Emily’s Preschool class and I don’t know who was more excited about it, Emily or myself! Emily and I picked out 10 Little Rubber Ducks, by Eric Carle to share with her class. This book was inspired by a real shipment of bathtub toys that fell off of a container ship and floated to various places. In this story, 10 Little Rubber Ducks are made in a factory and packaged and shipped. Then on their way over the water a fierce storm knocks a box overboard and into the ocean. The 10 rubber ducks float in various directions until the 10th one finds a real duck and her ducklings. I love the fun way that this book incorporates ordinal numbers, as well as directional words (over, under, north, south). Emily, Juliette and I think Emily’s whole class LOVED the special squeaking sound that is on the last page of the book, it definitely adds a special touch especially when you are reading it to a group of kids!!
To go along with this book I set up a project for Emily to do when she came home from school. I love Eric Carle’s illustrations so we made ducks in the ocean inspired by the cover of this book.
I gave the girls a duck template (click on the picture above for a free download) that I drew on a piece of construction paper.
First they glued on pieces of yellow tissue paper for the body and orange tissue paper for the beaks.
When they were finished the glued on a blue wiggly eye.
For the water Juliette decided to finger paint the piece of paper. I gave them a few different shades of blue and some green to make it look like the picture on the cover.
Emily used the same colors, but she decided she wanted to use a brush.
When everything was dry the girls glued their ducks onto the water backgrounds.
Juliette loved this project and was so proud of it, she asked if she could hang it in her room when it was ready!